Building an office AV (Audio-Visual) integration from scratch involves careful planning, selecting the right equipment, and ensuring proper installation and configuration. These systems are complex, and careful implementation by a qualified team is paramount to ensuring you not only get what you need, but that it actually works.

Here’s a step-by-step guide to help you through the planning process:
Assess Your Needs and Objectives
Identify Requirements: Determine the primary uses of the AV system (e.g., video conferencing, presentations, digital signage).
Space Evaluation: Evaluate the size and layout of the rooms where the AV system will be installed.
User Needs: Consider the technical proficiency of the users and their specific needs.
Plan the System Design
Room Layout: Create a detailed layout of the rooms, indicating where the equipment will be placed.
Component Selection: List all required components, including displays, projectors, speakers, microphones, cameras, control systems, and network infrastructure.
Future-Proofing: Consider scalability and potential future upgrades.
Choose the Right Equipment
Displays: Choose appropriate screens or projectors for the room size and lighting conditions.
Audio Equipment: Select high-quality speakers and microphones to ensure clear sound.
Cameras: Choose cameras with suitable resolution and field of view for video conferencing.
Control Systems: Decide on a user-friendly control system to manage all AV components.
Cabling: Ensure you have the right cables (HDMI, Ethernet, power, etc.) and consider wireless options where appropriate.
Network and Connectivity
Network Requirements: Ensure you have a robust network to support AV components, especially for video conferencing.
Bandwidth: Check that your internet connection has sufficient bandwidth for streaming and conferencing.
Cabling Infrastructure: Plan the cabling routes and make sure you have the necessary ports and connections.
Installation
Mount Displays and Projectors: Securely mount screens and projectors, ensuring they are visible from all relevant angles.
Install Speakers and Microphones: Position speakers for optimal sound distribution and place microphones to pick up voices clearly.
Set Up Cameras: Install cameras at appropriate locations to capture the entire room or focus on speakers.
Connect Equipment: Run cables and connect all components, ensuring a clean and organized setup.
Configuration and Calibration
Audio Calibration: Adjust audio settings for clarity and volume, minimizing feedback and echoes.
Video Calibration: Configure display settings for optimal brightness, contrast, and resolution.
Network Configuration: Set up and test network connections, ensuring stability and security.
Control System Configuration: Program the control system to manage all AV components seamlessly.
Testing and Troubleshooting
System Testing: Conduct thorough testing to ensure all components work together as intended.
User Testing: Have potential users test the system to identify any issues and get feedback on usability.
Troubleshooting: Resolve any issues identified during testing, such as connectivity problems or audio-visual delays.
Training and Documentation
User Training: Provide training sessions for employees to familiarize them with the new system.
Documentation: Create detailed documentation, including user guides and troubleshooting tips.
Maintenance and Support
Regular Maintenance: Schedule regular maintenance checks to ensure the system remains in good working order.
Technical Support: Establish a support system for addressing any issues that arise.
Here are a few Example Layout Plans:
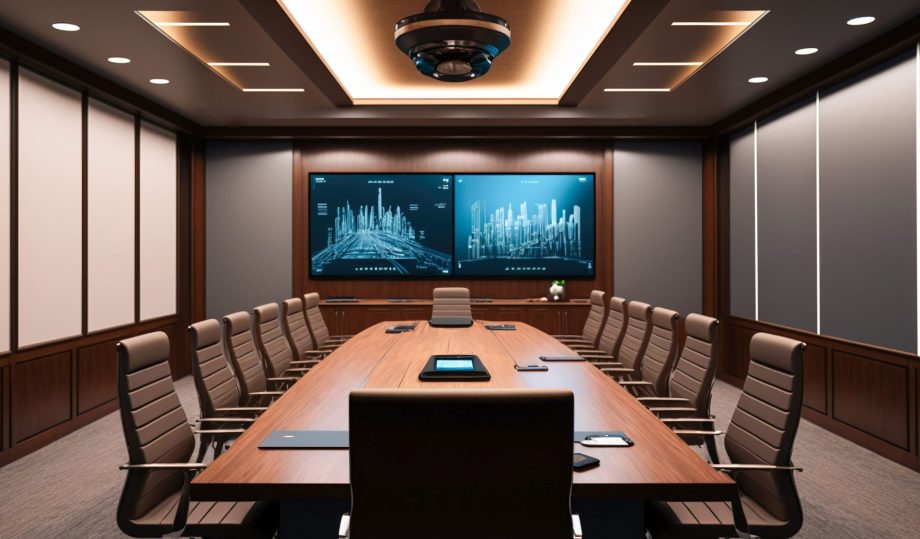
A Conference Room:
Display: Large wall-mounted screen or projector with a retractable screen.
Audio: Ceiling-mounted speakers and table microphones.
Camera: Wall-mounted camera facing the conference table.
Control System: Touch panel on the conference table for easy control.
Network: Wired and wireless connectivity for reliable performance.
A Huddle Room:
Display: Medium-sized wall-mounted screen.
Audio: Integrated soundbar with a built-in microphone.
Camera: Compact camera mounted above the screen.
Control System: Simplified control interface, possibly integrated into the display.
Network: Reliable Wi-Fi connection.
Building anything starts with a plan. Well, perhaps it’s and idea first – but it always moves to a plan. Know your plan, then you can choose the right team to execute that plan.
At NDS, we love it when a plan comes together.